If you find yourself constantly switching between tabs or apps, learning how to split your screen on Windows can seriously boost your productivity. Whether you’re comparing documents, referencing a webpage while writing, or keeping an eye on your email while working. Windows makes it easy to view two apps side by side.
In this guide, you’ll learn exactly how to split screen on Windows including keyboard shortcuts, the Snap feature, and Windows 11 specific options.
What Is Split Screen on Windows?
Split screen (also called Snap) is a built-in Windows feature that lets you divide your screen into sections, placing two or more windows side by side. This means you can work in two apps and tabs simultaneously without switching back and forth. This will save time and keep you focused.
It works on both Windows 10 and Windows 11, though Windows 11 introduced an enhanced feature called Snap Layouts, which gives you even more control over how your windows are arranged.
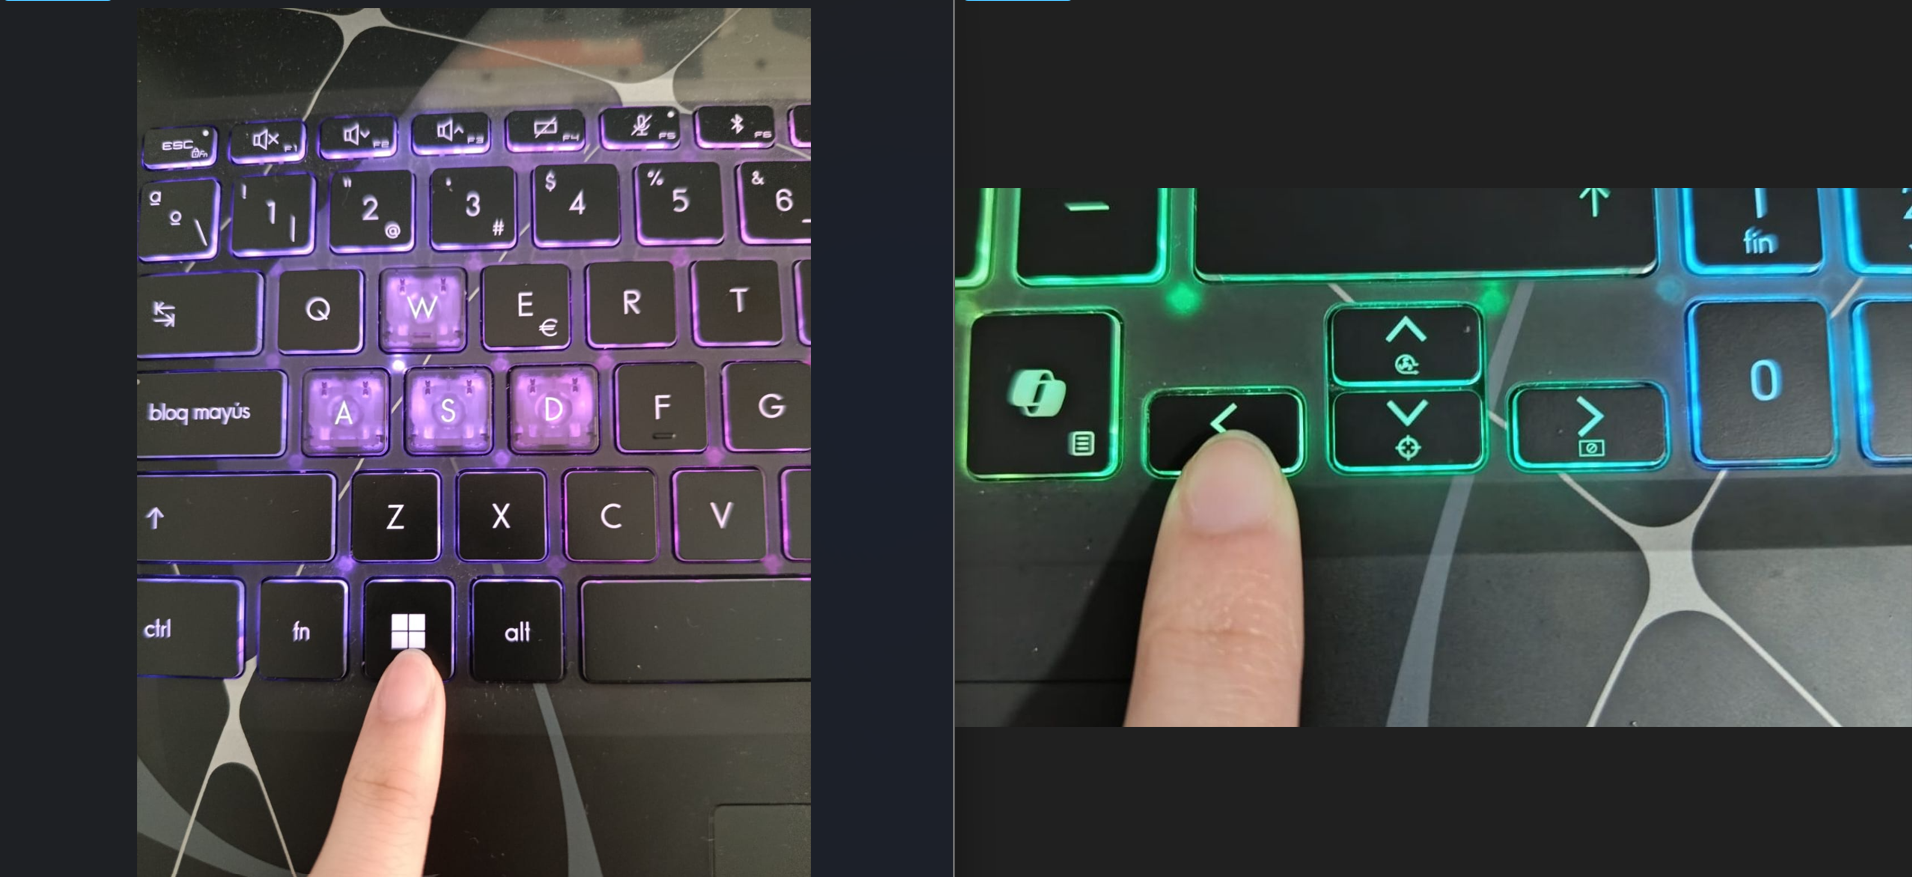
Method 1: How to Split Screen on Laptop Using Keyboard Shortcut
If you want to do it fast, using the split screen Windows 11 shortcut key is the fastest way to snap your windows. The how to split screen on laptop shortcut is the same across Windows 10 and Windows 11:
- Click on the window you want to snap to the left.
- Press Windows Key + Left Arrow to snap it to the left side.
- Click on the second window you want to use on the right side.
- Press Windows Key + Right Arrow to snap it to the right side.
Method 2: How to Split Screen Using the Mouse (Drag & Snap)
This is the simplest method and works on both Windows 10 and Windows 11.
- Open the first app or window you want to use.
- Click and hold the title bar of the window.
- Drag the window to the left or right edge of your screen until you see a transparent overlay appear.
- Release the mouse — the window will snap to that half of the screen.
- On the right side, Windows will show your open apps. Click on the second app you want to display.
Method 3: How to Use Split Screen on Windows 11 with Snap Layouts
Windows 11 introduced Snap Layouts. It is a visual menu that lets you choose from several layout options at once. This is the most flexible way to use split screen Windows 11 style.
- Open the first app you want to snap.
- Hover your mouse over the maximize button – in the top-right corner of the window.
- A Snap Layouts menu will appear. Select the layout you want — for a 50/50 split, choose the two-column option.
- Click on the position where you want the first app to go (left or right).
- Windows will then show your other open apps. Then, click the second app to fill the remaining space.
Tips to Get the Most Out of Split Screen on Windows
Resize your split: Drag the divider bar between the two snapped windows to give more space to one app.
Use on any display: Split screen works on laptops, monitors, and ultrawide screens — great for multitasking on smaller displays.
Snap more than two windows: In Windows 11, Snap Layouts allow you to arrange up to four apps on screen at once using grid layouts.
Snap Assist toggle: If split screen isn’t working, go to Settings > System > Multitasking and make sure Snap Windows is turned on.
Conclusion
Splitting your screen on Windows is one of the easiest ways to work smarter, not harder. Whether you prefer dragging with your mouse, using a keyboard shortcut, or picking a layout from Windows 11’s Snap Layouts, there’s a method that fits your style.
To recap: drag any window to the screen edge to snap it, or use Win + Arrow keys for the fastest split screen experience. Windows 11 users can also hover over the maximize button to access Snap Layouts for more flexible arrangements.
When I figured out how do I split my screen into two screens, I did not bother to buy any monitor.
Find out more tech tips to increase your productivity.